XTerra Axle Swap Redux
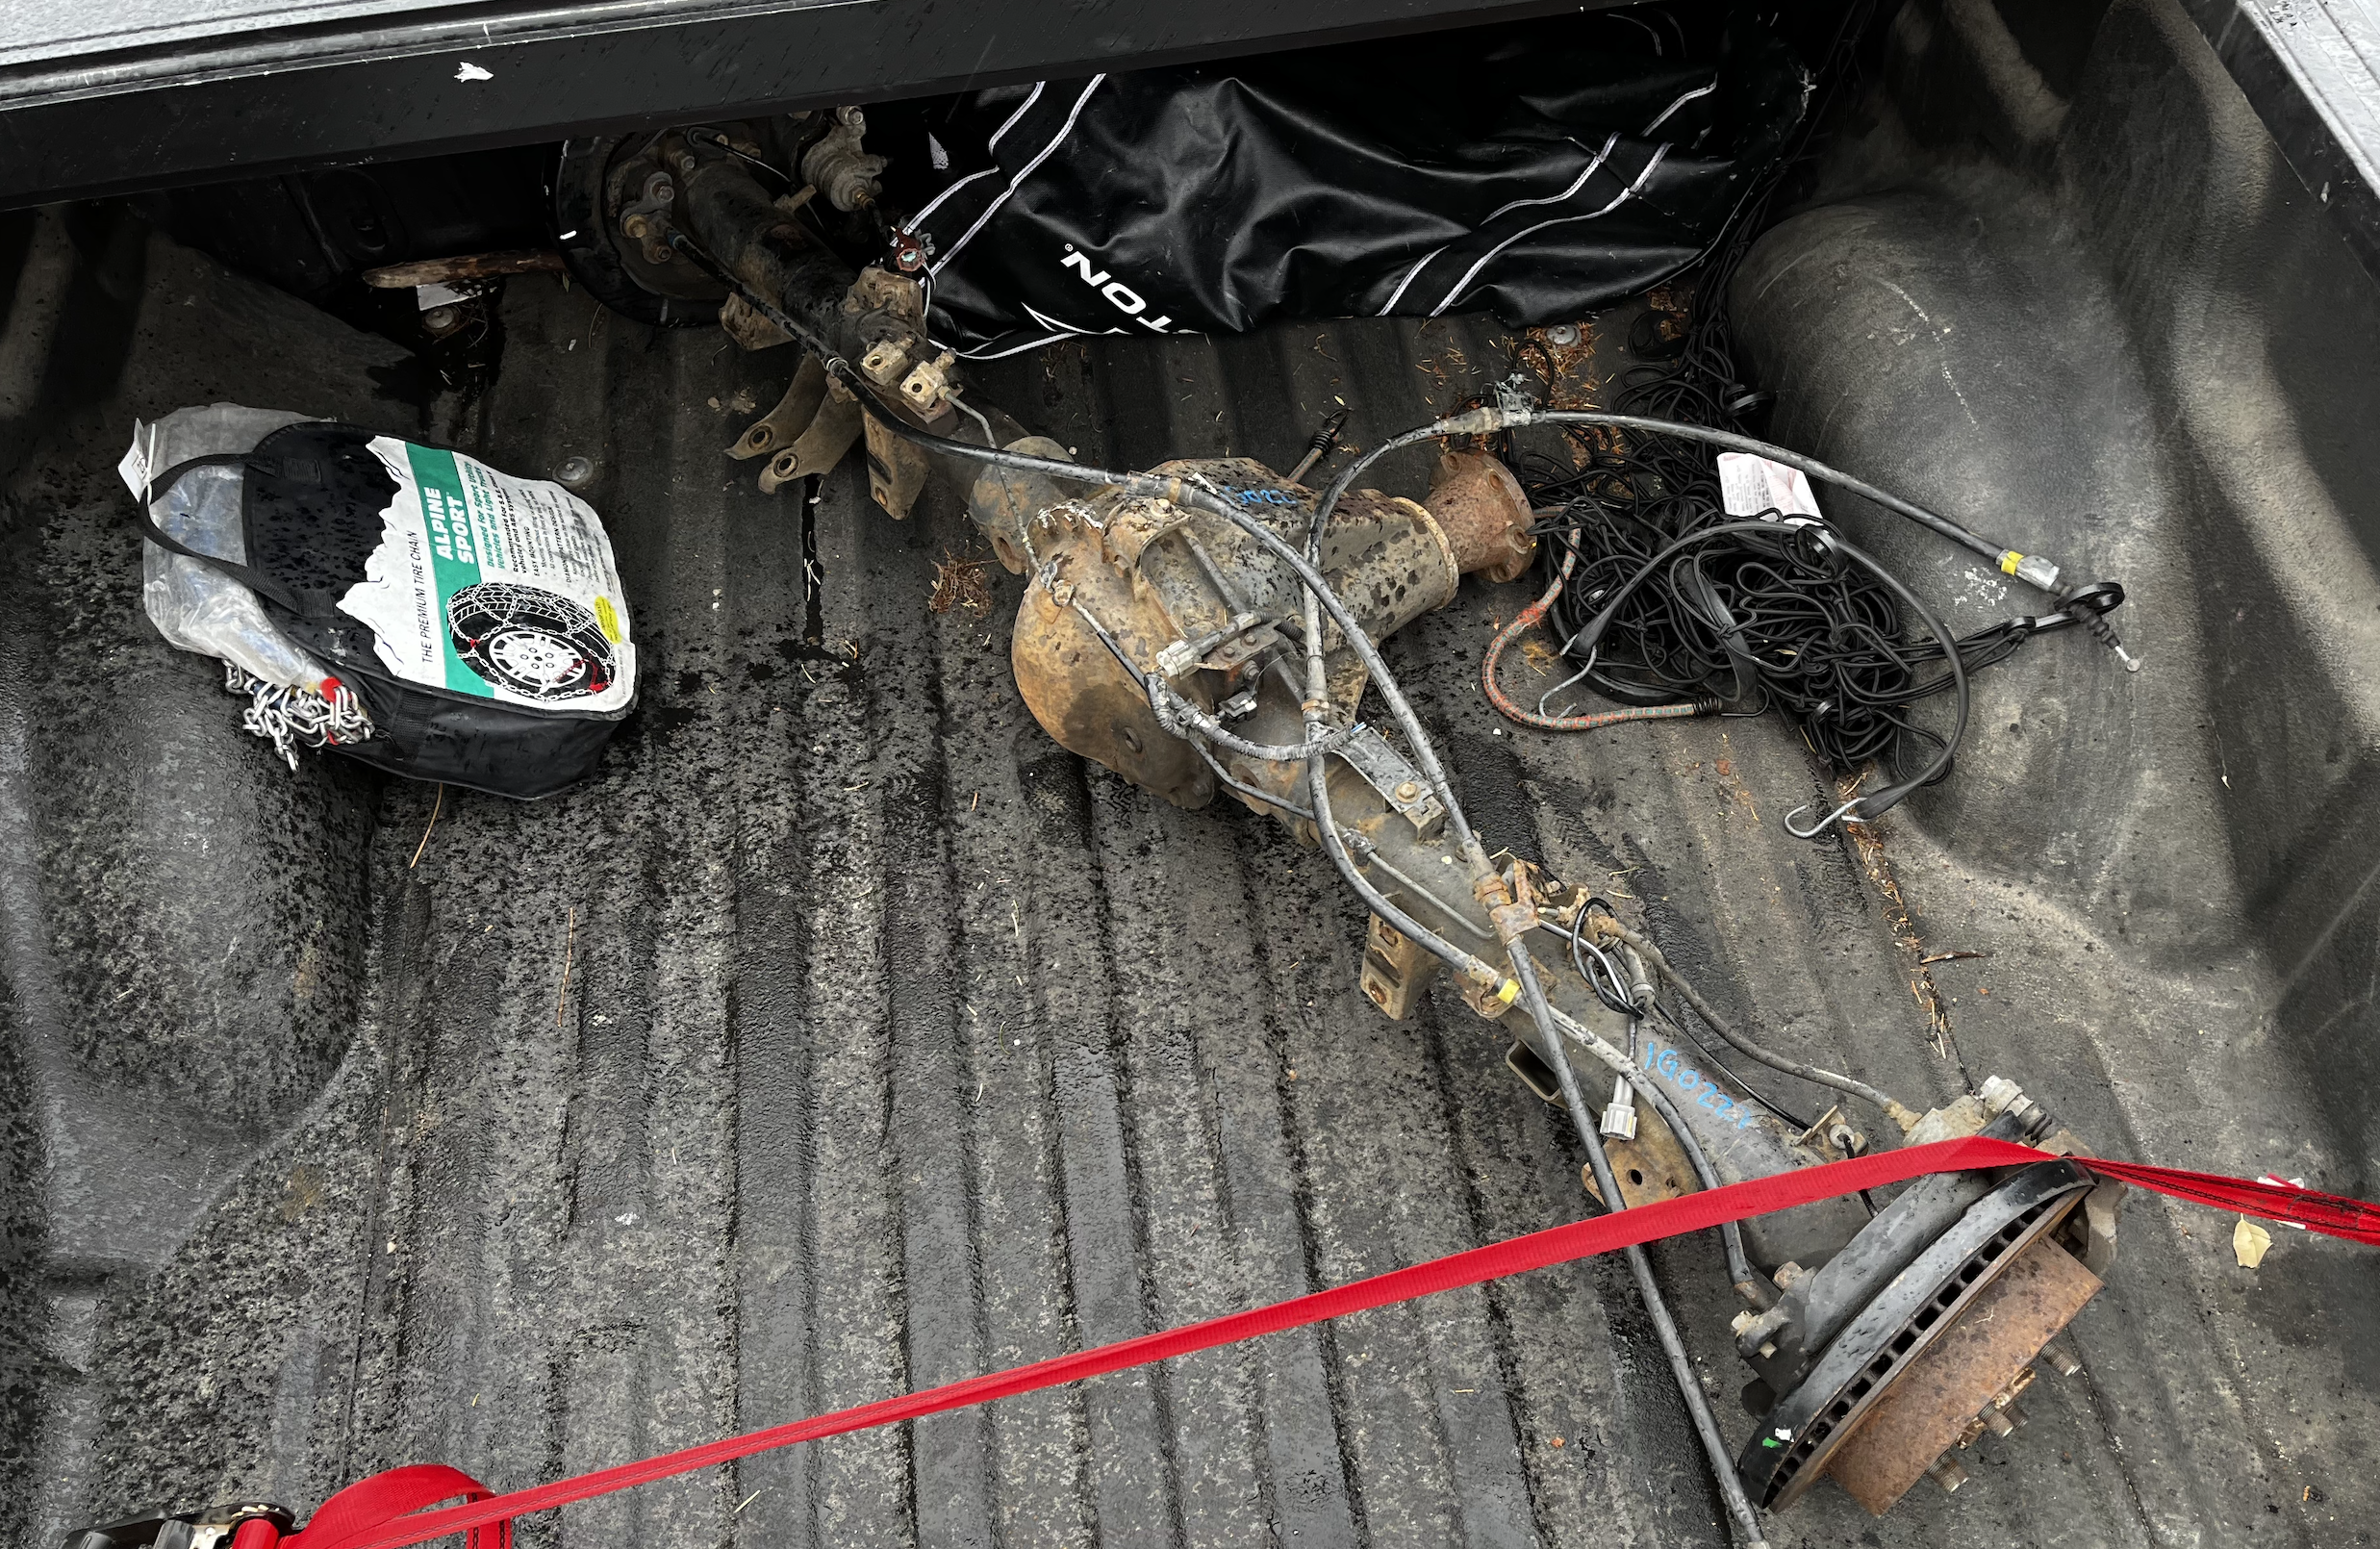
In March of 2023, I had an opportunity to buy an M226 axle out of a destroyed 2011 Pro4x Xterra. My Xterra trim does not come with an electric locking differential; whereas the pro4x does. Getting a full axle assembly from a pro4x trim and swapping it in is an economical way of getting a locking rear differential on xterra models that didn’t come with it.
I made a whole video about the process and posted it on Youtube:
This is by far the biggest car project I’ve undertaken and this this post is a postmortem of sorts. To summarize my experience and lessons learned.
Uknown Unknowns
There are two differentials in an xterra: front and back. When the four wheel drive system is fully engaged the front wheels are physically coupled to the rear wheels. It is critical that the wheels spin at the same rate (although there’s some leeway). Responsible for the rotational speed are the gear sets in each differential.
When I started the project I was under the impression that I had a certain ratio, that matched the new axle I purchased. Turns out that was not the case. My Xterra came with a 3.54 ratio, where as the axle I was swapping was a 3.69. It was a sufficiently different ratio that I had to find a matching front diff (an R180) with the same ratio. Luckily I found one relatively quickly but I did drive with the front drive shaft removed for a few weeks.
In addition to the rear axle, I had to replace the front diff which is something I did not anticipate.
Every project has many variables, but there’s no accounting for things you don’t know.
More Force
I had to disconnect from CV shafts to replace the front differential. To do that, I had to disconnect the upper control arm from the knuckle. I was surprised by the amount of force needed to pop the ball joint. I hit it repeatedly with a 4lb hammer. I was reluctant at first, but the knuckle is a single piece of cast iron that supports the full weight of the truck so it’s very robust. I do not yet have the intuition that a lot of mechanics do - how much force/abuse a part can take during assembly or usage. Common lore for this using impact guns to tighten wheel lug nuts. Seasoned mechanics know how many “ugga duggas” it takes; I prefer to use the torque wrench.
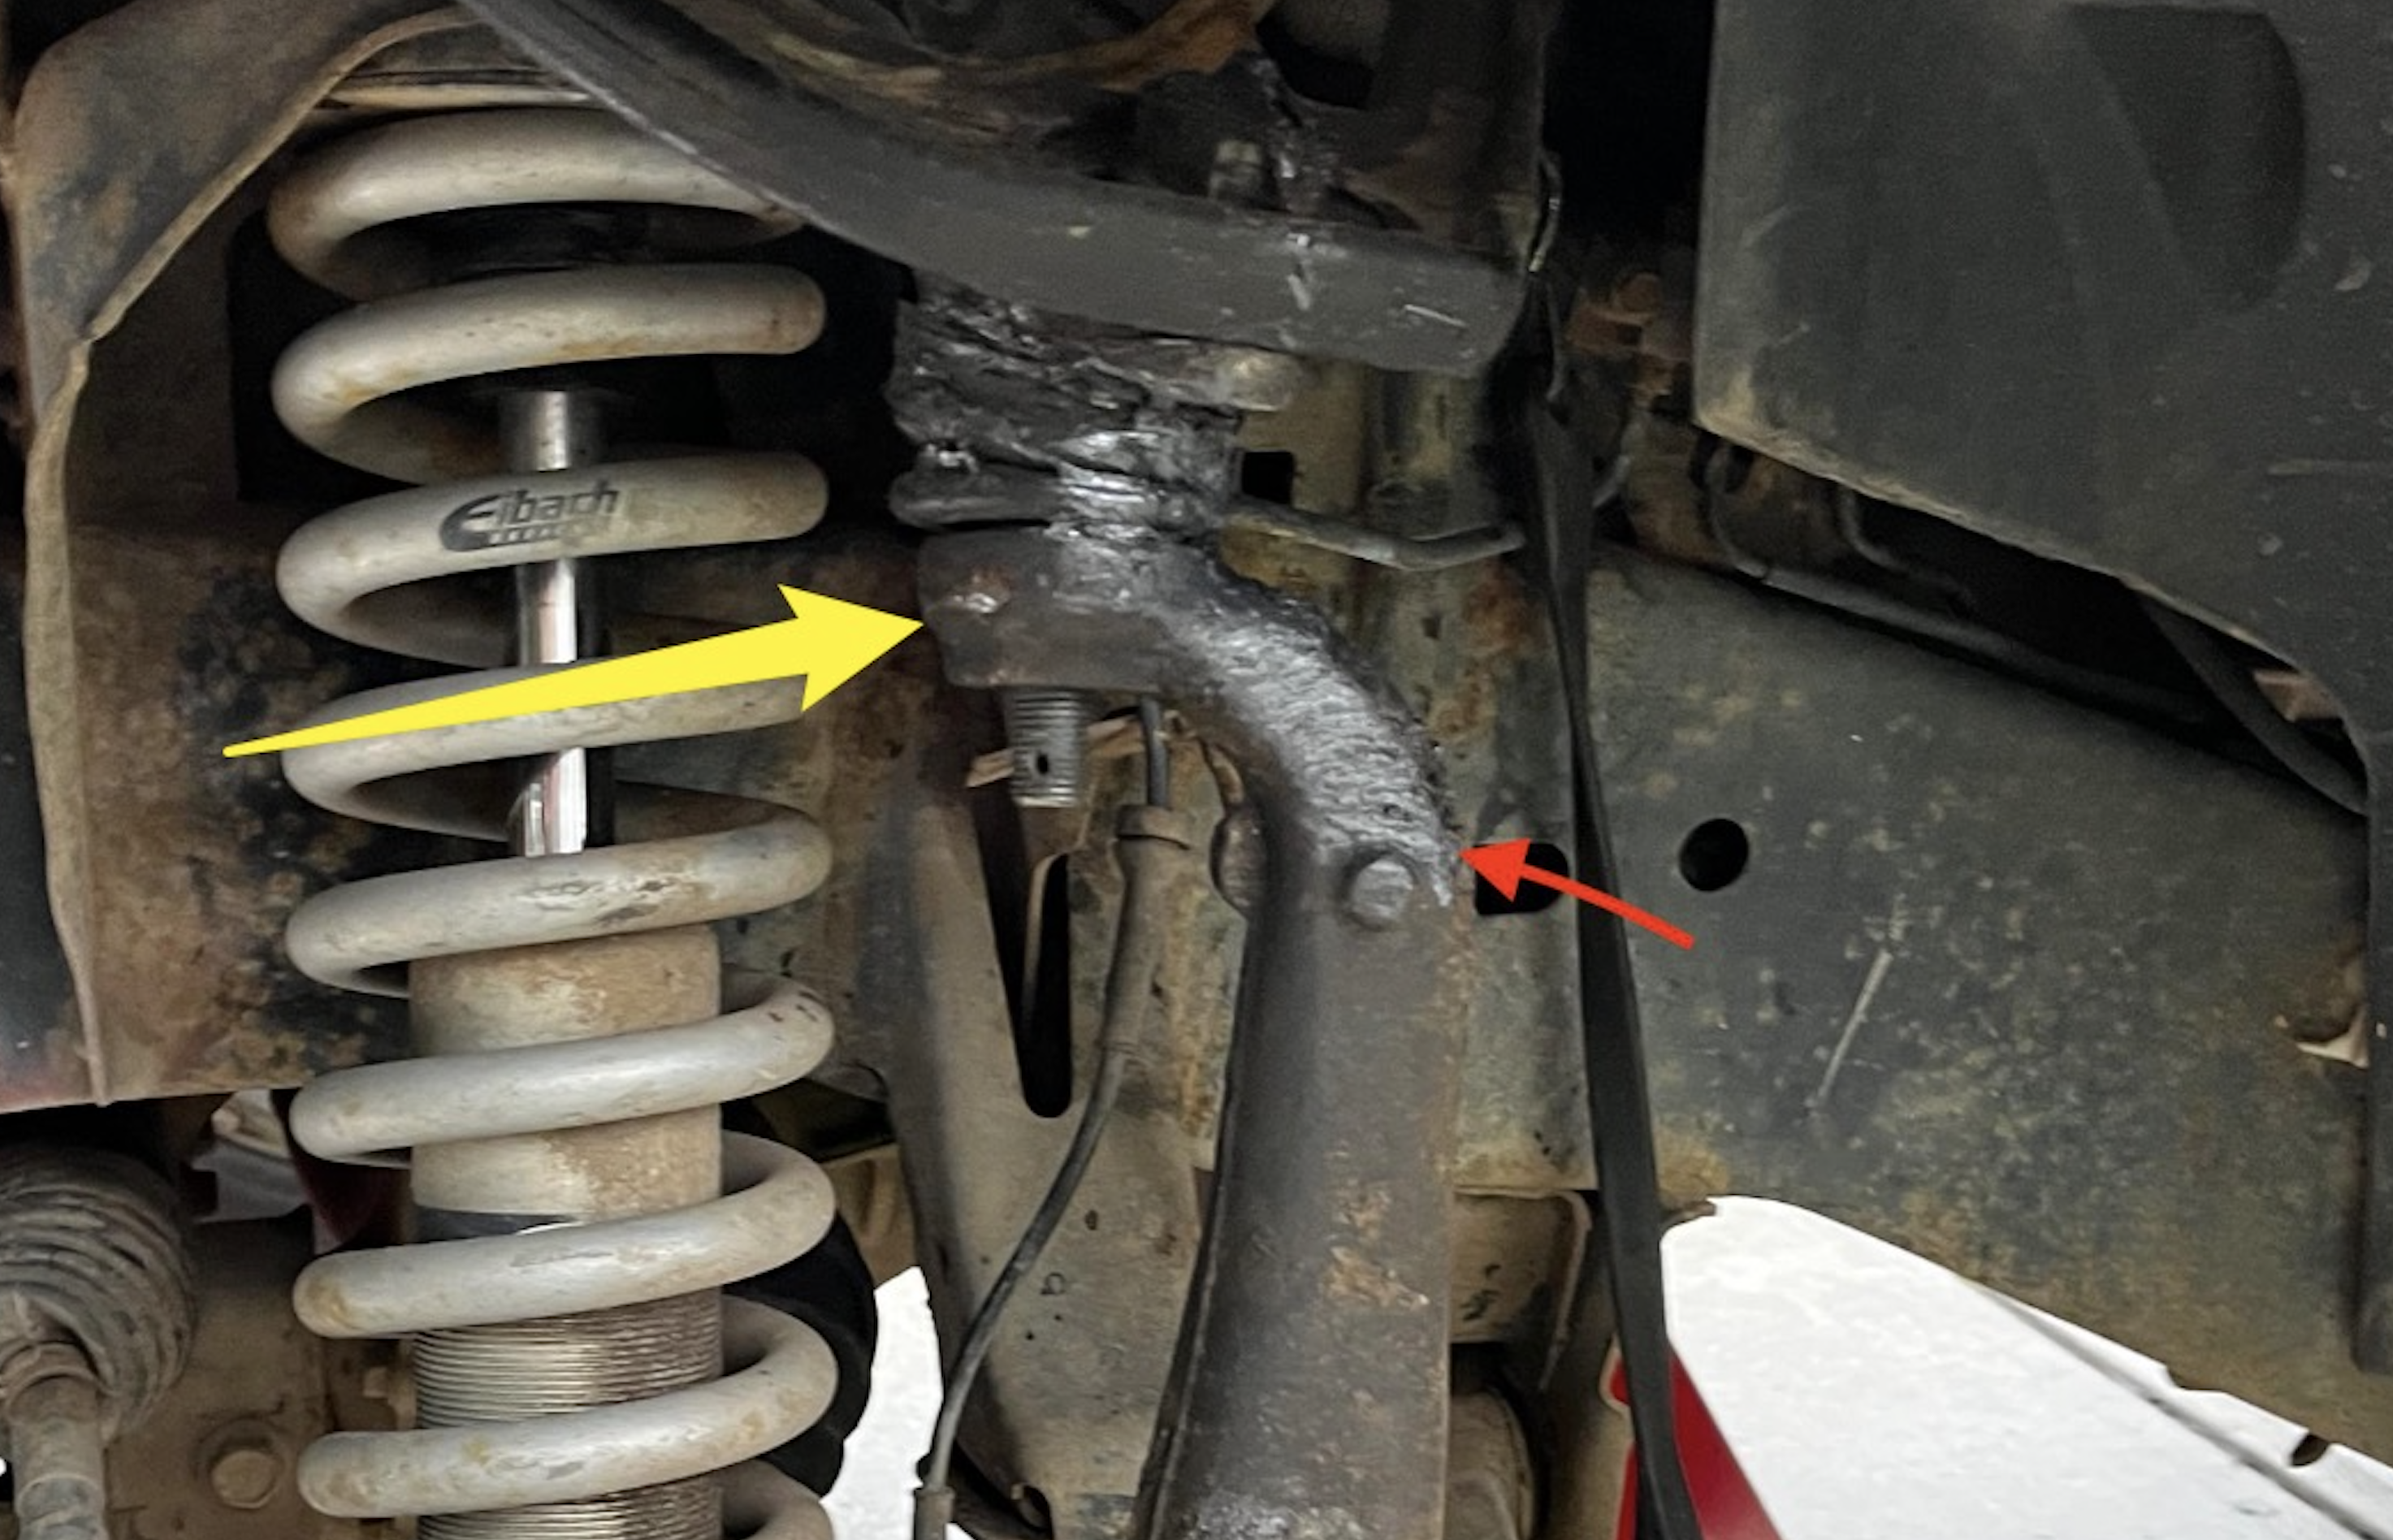
Red arrow is where I started, yellow arrow is where you want to be hitting. Be assertive.
Think it through and ask for help
For swapping the rear axle, I followed a very thorough guide from thenewx.org. The guide either glossed over, or I missed it, that the leafs should be dropped for the rear axle to be removed. Instead I tried to shimmy it out, with predictable results. I dont know why I didn’t see that as an obvious solution. It would’ve required taking two bolts out which would’ve been significantly faster and safer than what I did.
On the flip side, I should have asked for help removing the axle itself. Instead of trying to wrangle it myself. No damage done this time, but better safe than sorry.
The hardest part
The hardest part for me was the wiring. For an e-locker you need two pieces. First, the switch that actuates the elocker. Second is the ground signal that is used to confirm successful lockup.
Conceptually, I have no problems with 12v wiring. What I do have trouble with is keeping everything tidy. Wire lengths are particularly challenging. If they are too long they are impossible to hide. Too short is obviously a problem too. I opted to leave them a little long and hid most of the wiring behind the driver side kick pannel.
Conslusion
Ultimately this was a very rewarding project. Apart from the money that I saved by doing the work myself I learned a lot. The project probably took significantly more time than if it was done by a professional, but it is acceptable in this case.